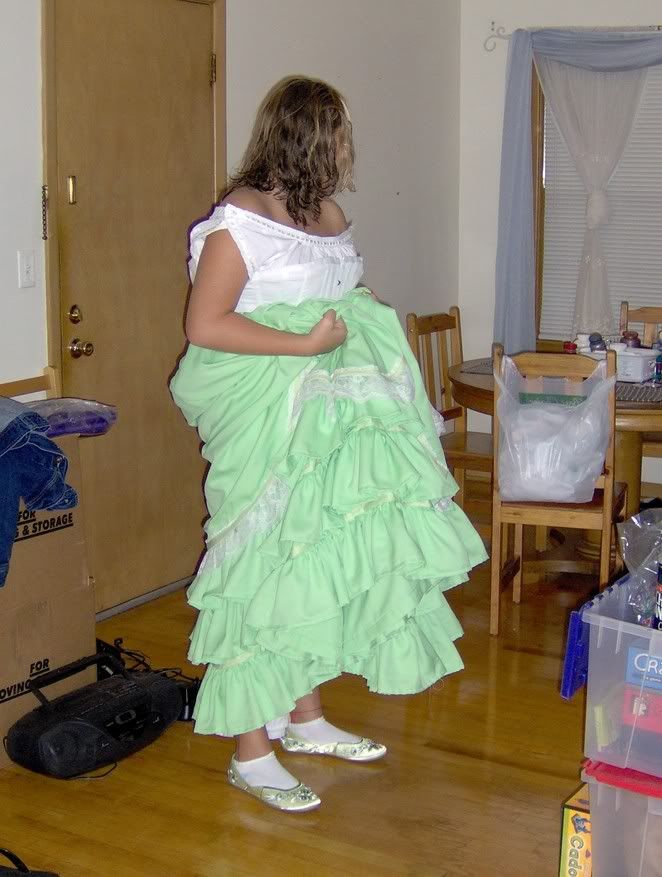
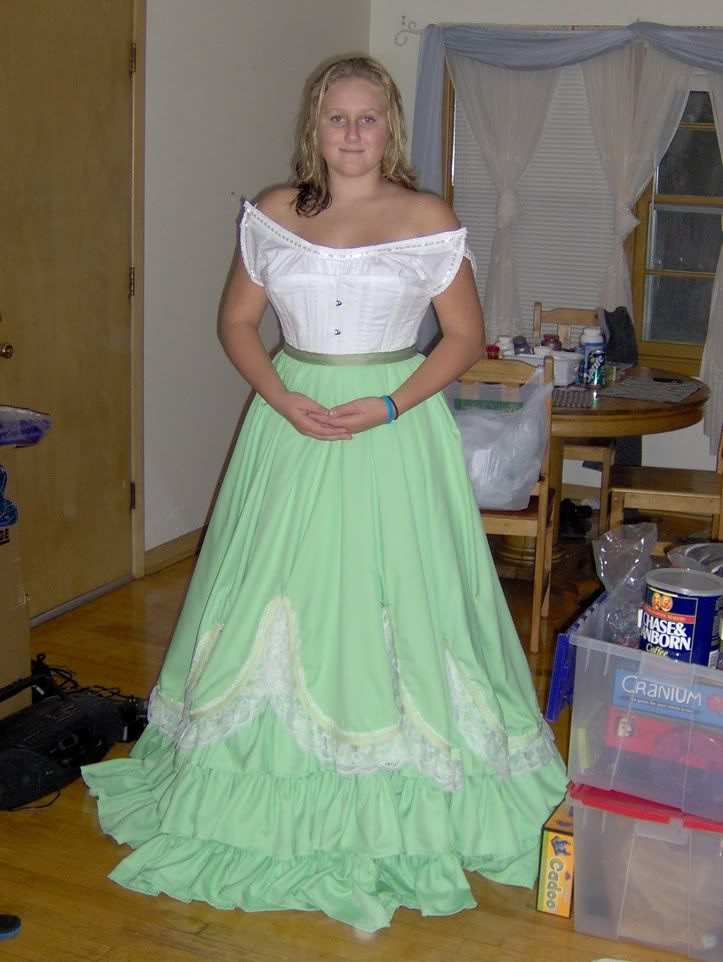
Dang, it's too long. I need to take it up by about 6 inches or so. I will probably just take a few tucks in the underskirt, high enough under the overskirt that the seams won't be visible. For a more everyday style, I wouldn't be able to get away with this because it would create too much bulk; however, with this skirt, I could use as much bulk as I can possibly get.
Shopping at Payless today for gym shoes, we saw a pretty pair of embroidered flats that are an almost perfect match to the lighter-green trim (the bias tape that runs along the edge of the scallops.) I'm not sure why she is modeling them with sports sox here. For the ball we will probably go with some fairly heavy tights, or something appropriate for the November climate.
Sunday, August 28, 2005
Thursday, August 25, 2005
Ridiculous Ruffles
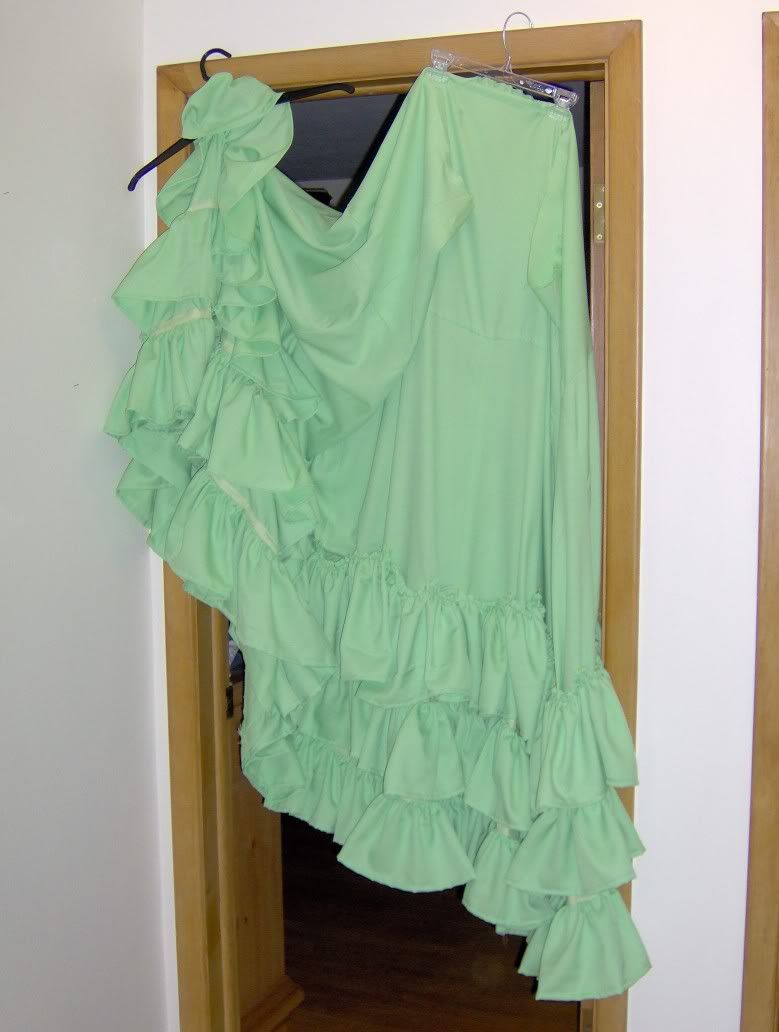
I am still working on the stupid ruffles on the underskirt of Ali's costume. My dress will be more matronly, less fluff and pouf; but Ali's is the jeune fille dress, with a ruffled underskirt and a scalloped overskirt and a pleated bertha and pouf undersleeves and split oversleeves, the whole thing being liberally adorned with lace and ribbon and bows. It is giving me a major headache. Two ruffles are on, with the third one pinned in place here. Hopefully I can finish it tonight & get on with the overskirt.
Sunday, August 21, 2005
Underpinnings
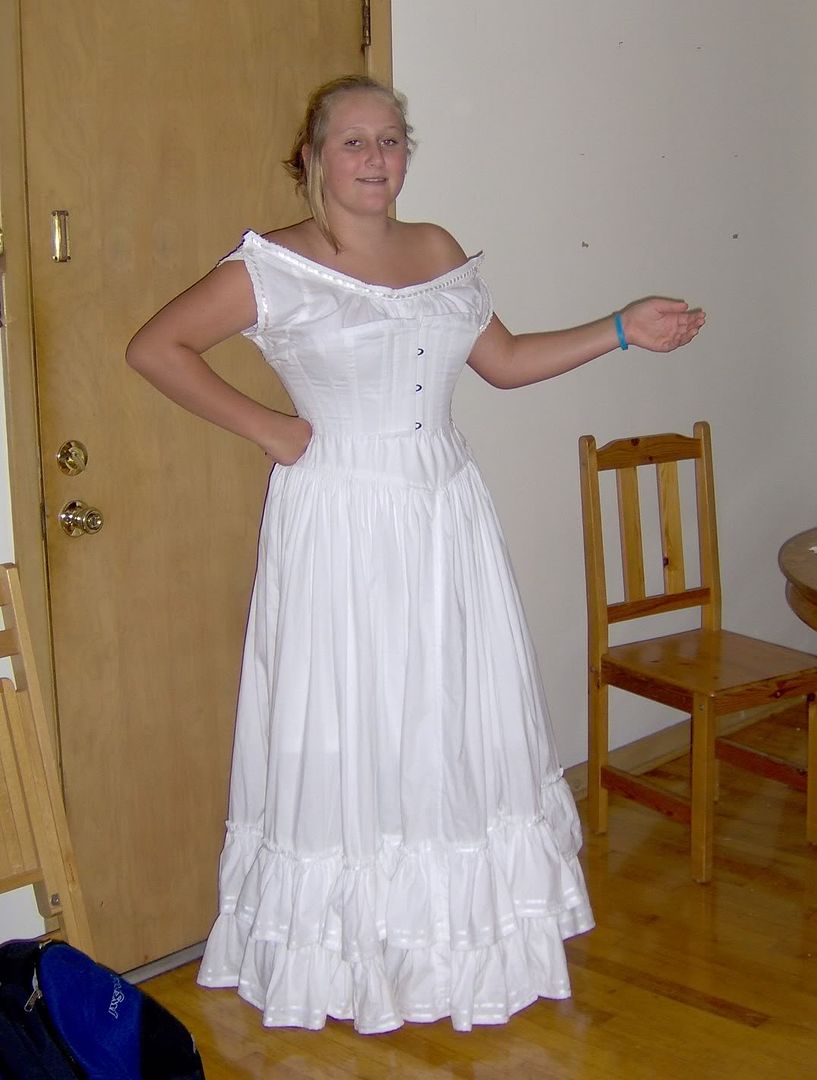
The underpinnings are done for Ali's costume. Sort of. Note the distinctly unsatisfying lack of fullness in the petticoat, which does NOT have a hoop. The crinoline hoopskirt was patented in 1854, so I guess it's not technically out of period for this dress (which is supposed to be shooting for 1855), but I have opted against it for the following reasons:
1. A crinoline might be seen on a fashionable woman in New York or Boston in '55, but we are supposed to be re-enacting 1855 Missouri, which wouldn't have had access to the latest thing. Women here probably weren't wearing crinolines for another few years.
2. They are absolutely vexing to wear & I don't want to have to try to teach Ali how to sit down in a hoop.
So, I have a two-pronged attack plan, designed to solve the problem of making the skirt stand out more. One, I will add a corded petticoat underneath this one. Two, I will starch the hell out of both petticoats until they just about stand on their own. Should get a lot of volume that way.
Friday, August 12, 2005
Corsetry
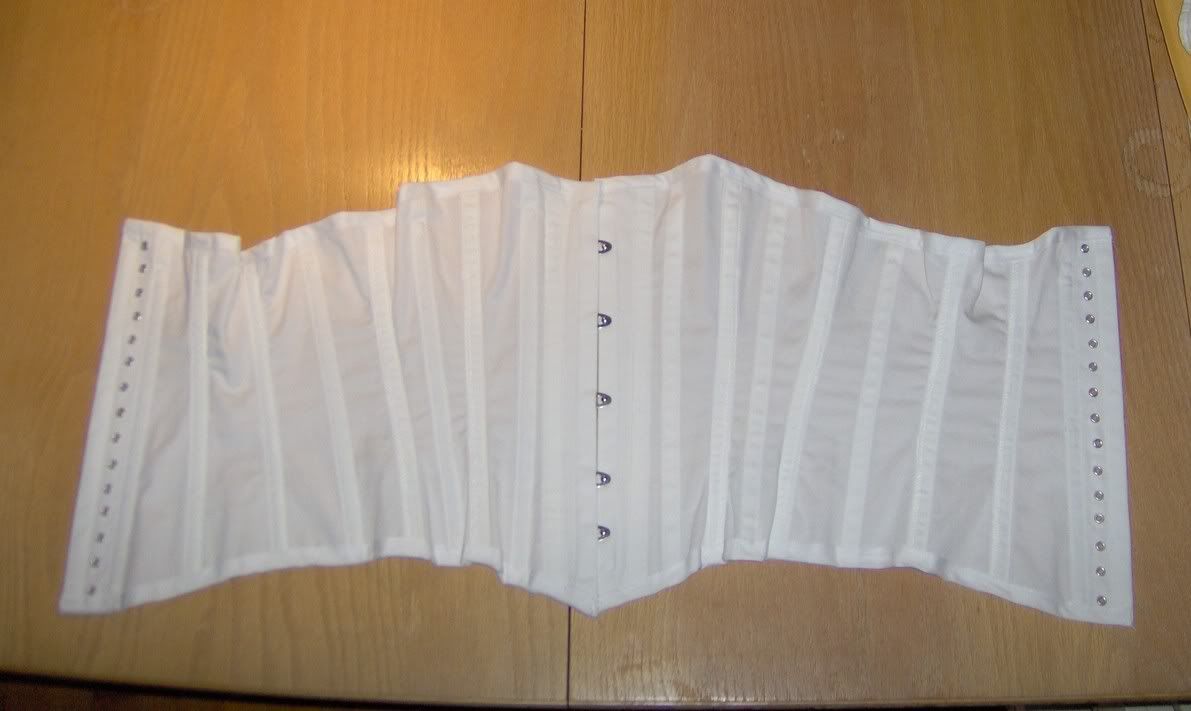
Here is my first foray into full-blown steel corsetry. "What?" I hear you say. "You did RenFaires and SCA for umpty-zillion years, how can you say you never did corsetry before?" Well, it's true I did do RenFaires and whatnot as a starving college student, and put together some fairly nice fitted fabric bodices on a shoestring budget, usually out of whatever upholstery fabric I could find in the bargain bin. But by the time I was a little older and had become solvent enough to do serious period costuming, my persona had regressed from vaguely-middle-class-Tudor to the wife of an 8th c. continental Saxon mercenary -- tunics, not corsets, in other words.
So now, here I am trying my hand at 1855-era costuming for the first time, making a ball dress for Ali for the Sesquicentennial Ball coming up in November. I plan to make a gown for myself too, as well as a costume for Mike. (Hunter is not the slightest bit interested & will be sequestered with a babysitter on the night of the ball.) Ali's gown is the test case, since she is a standard right-out-of-the-pattern-envelope size. I am sure I will have to do some fairly extensive modifications for my dress & didn't want that to be my first stab at it.
When you make costumes that have some fairly serious underpinnings, like corsets, you have to make the underpinnings first since the gown will fit differently without it. Otherwise, if you fit the gown without the corset, and then put on the corset, the waist will hang all funny. (Mike tells me it's the same dilemma with armor -- more than one newbie fighter has made his armor first, then his gambeson; then wondered why it doesn't fit when he puts it all on.) So, anyway, I am making the costume from the skin out, so to speak.
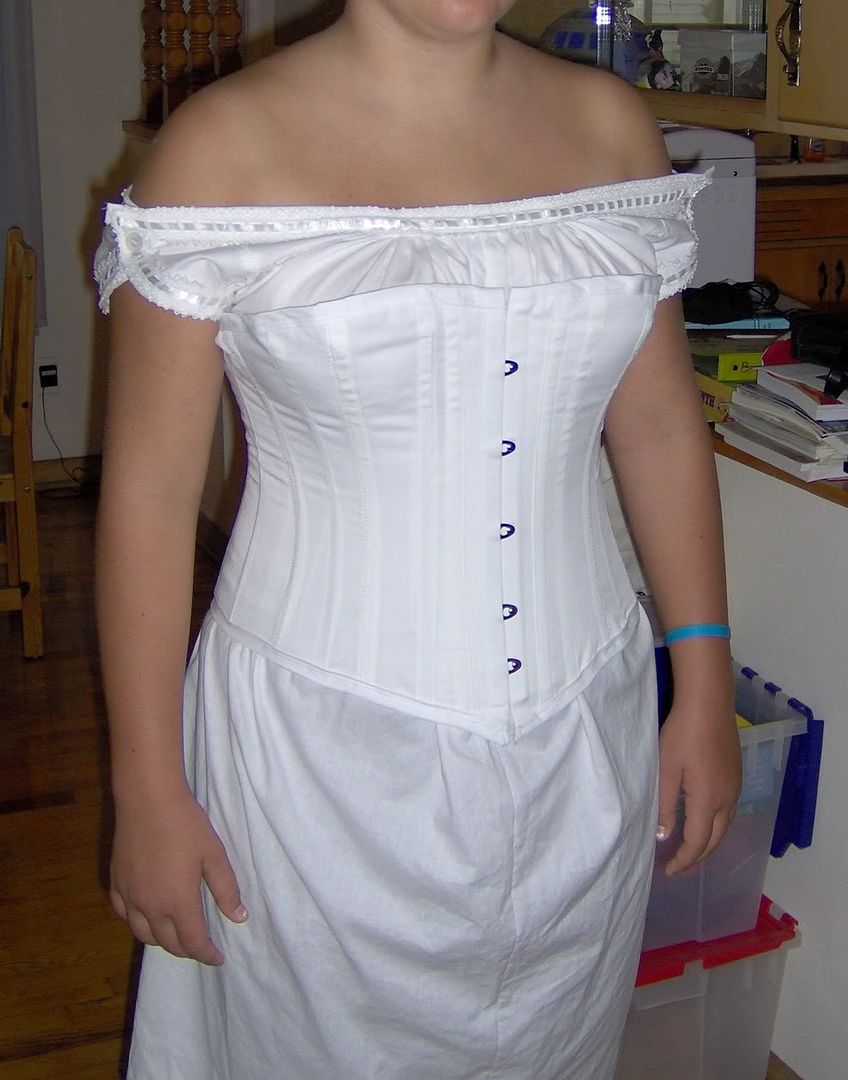
Here is the chemise & corset. (Yes, I know this is a picture of my daughter in her underwear, but it's 1855 underwear, so I don't think it's that risque, do you?) There are 20 steel stays in this thing, plus the busk, so it's quite rigid. I made a couple mistakes I won't repeat on the second corset, but overall, I think it turned out pretty good for a first attempt.
Next is the petticoat, then the dress itself. Ali (of course) wants a giant hoopskirt, but my usual haphazard research tells me that 1855 is just a hair before the time of full-blown hoops; skirts were full, but worn with very voluminous petticoats to give them the fullness, not hoops. Not that I doubt we will see a hoop or two at the ball in November. Heck, I won't be surprised if we see recycled Scarlett-O'Hara green-curtain costumes. You know somebody's got one of those floating around somewhere ;-)
Tuesday, August 09, 2005
MCE Sox Pattern
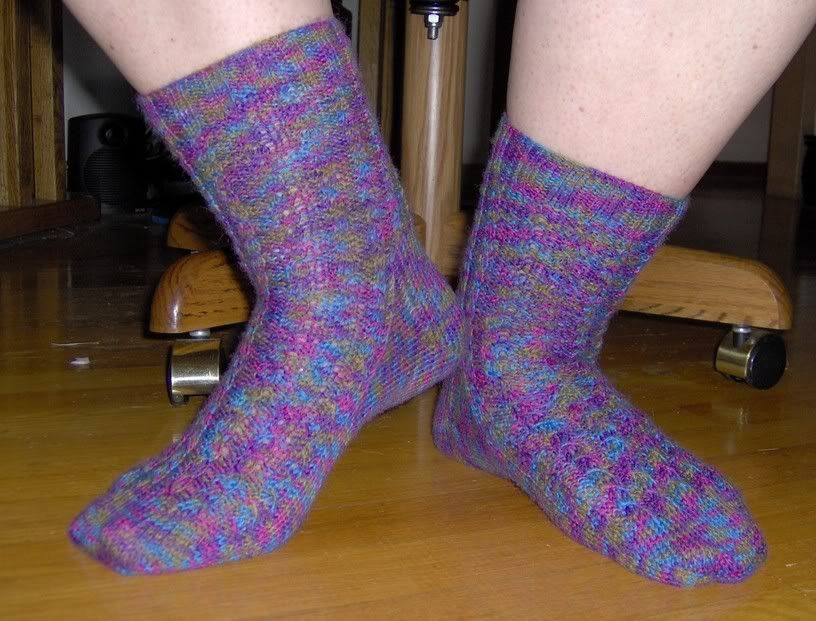
As promised, here's the pattern for the Mock-Cable Eyelet Socks (plus a better picture). I'm assuming a basic knowledge of sock construction & skipping a lot of the construction notes. Socknitters has a good tutorial on construction, good for beginners or just if you need a refresher.
Mock-Cable Eyelet Socks
by Kay Luke
To fit average-to-large sized woman's foot. (Written for my size 10s, in other words.)
Yarn: Elann's Sock It To Me Colori in color Spiced Berries, 2 skeins
size 2 needles
Cast on 60 stitches. Join in the round, taking care not to twist yarn, and work k2,p2 ribbing for one inch.
Commence working in pattern:
Round 1: *P1, sl 1, k2, pass slipped stitch over 2 stitches, p1*, repeat from *.
Round 2: *P1, k1, yo, k1, p1*, repeat from *.
Round 3: *P1, k3, p1*, repeat from *.
Round 4: Repeat row 3.
Work in pattern until sock cuff measures 4" or desired length, ending with row 4.
Start heel flap: The heel flap is worked over 30 stitches; place the remaining 30 stitches on a holder or on a separate needle for the meantime.
Row 1: *sl1, k1*, repeat from *.
Row 2: Sl1, purl to end.
Repeat rows 1 & 2 until heel flap is 30 rows (15 slipped stitches on each side), ending with a purl row.
Start heel shaping:
Row 1: Knit to last stitch, wrap & turn.
Row 2: Purl to last stitch, wrap & turn.
Row 3: Knit to last stitch before wrapped stitch, wrap & turn.
Row 4: Purl to last stitch before wrapped stitch, wrap & turn.
Repeat rows 3 & 4 until there are 14 live stitches on needle (not counting wrapped stitches), ending with a purl row.
Begin picking up wrapped stitches:
Row 1: Knit to wrapped stitch, knit wrap & stitch together, turn work.
Row 2: Purl to wrapped stitch, purl wrap & stitch together, turn work.
Repeat rows 1 & 2 until all wrapped stitches have been picked up, ending with a purl row.
Picking up for the gusset:
Note: I generally knit on two circulars, and I keep the 30 stitches on top of the foot on the top needle, and gusset & heel on the bottom needle. That way, all my decreases are on the bottom needle, and I can keep track of the pattern on the top of the foot easier. If you are using DPNs, place the 30 stitches on the top foot on a single needle, and divide the heel & gusset stitches over two needles. If you are using a single needle, place markers as indicated to help you keep track.
Knit across 30 stitches of the heel. Pick up and knit 16 stitches along edge of heel flap (once in each slipped stitch & one in the corner of the gusset, to help tighten things up.) Place a marker here if you are using a single needle. Knit the 30 stitches from holder IN PATTERN: *P1, sl 1, k2, pass slipped stitch over 2 stitches, p1*, repeat from * for a total of 6 repeats. Place marker if using single needle. Pick up and knit 16 stitches along other edge of heel flap (one in the corner of the gusset & once in each slipped stitch.) A total of 92 stitches is on the needles.
Begin gusset decreases:
*Continue knitting around heel until last 2 stitches before top; k2tog. Knit across top of foot IN PATTERN for 30 stitches. Sl1, k1, psso.* Repeat in this manner until total number of stitches is reduced to 60.
Continue knitting the foot (plain for the bottom 30 stitches, IN PATTERN for the top 30 stitches) until the foot measures 7.5 inches from heel or desired length, ending with a row 4 of the pattern and having knitted across the bottom.
Toe Decreases:
Round 1: *K1, sl1, k1, psso, knit to last 3 stitches of top, k2tog, k1.* Repeat for bottom.
Round 2: Knit.
Repeat rounds 1 & 2 until 40 stitches remain.
Repeat round 1 only (decreasing every row) until 28 stitches remain.
Graft toes & enjoy.
Sunday, August 07, 2005
Independence Sit n Knit
Some photos from the Sit n Knit meeting today in Independence. I don't usually get a chance to drive all the way out there, but Ali & I were in Independence anyhow to buy a ridiculous amount of fabric & lace for Ali's gown for the Sesquicentennial Ball. I'll have lots more on that later, I'm sure.
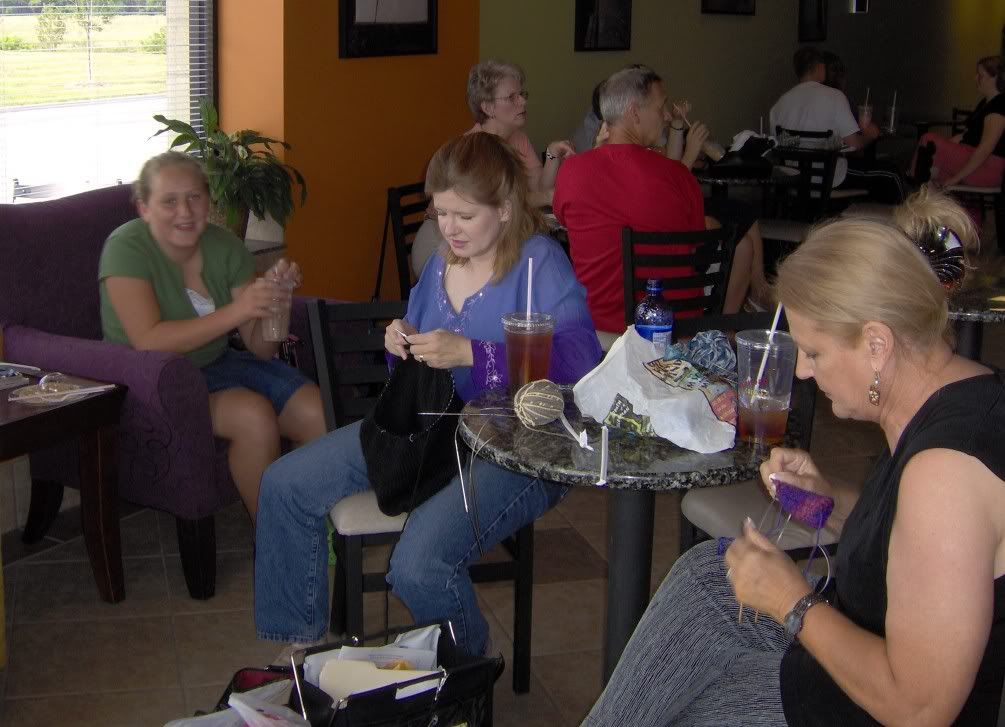
Ali, Chelle, and oops, I forgot her name, Chelle's mom
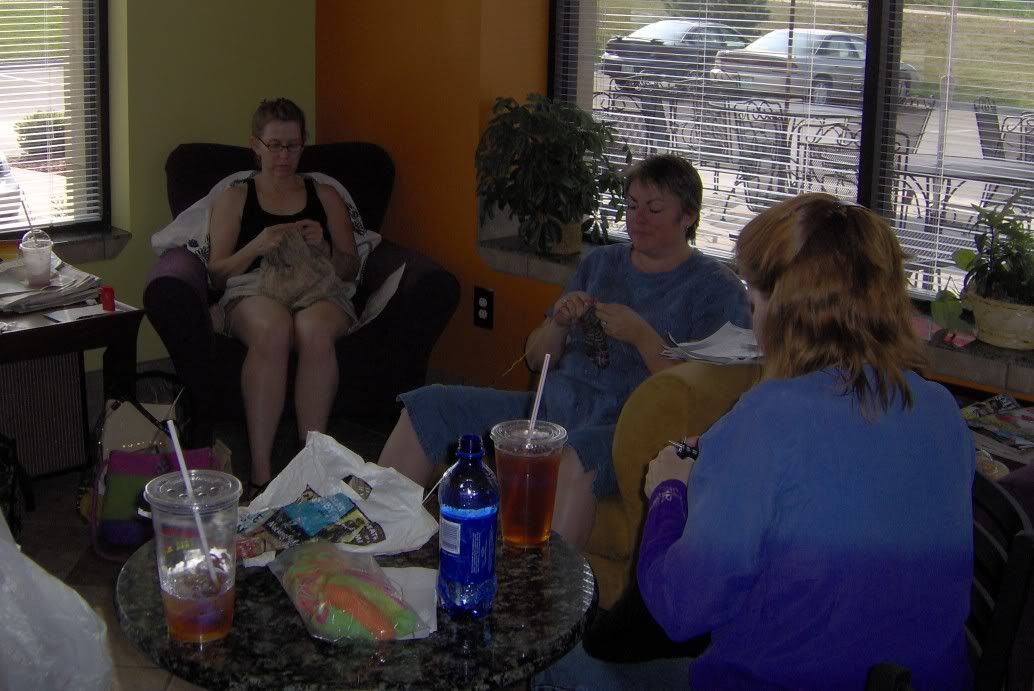
Me, and Maenwyn
Mary & Jen, & the back of Chelle's head
I promised to post the pattern for the Eyelet Mock-Cable socks, which I happened to be wearing, so watch for that in a later post.
Ali, Chelle, and oops, I forgot her name, Chelle's mom
Me, and Maenwyn
Mary & Jen, & the back of Chelle's head
I promised to post the pattern for the Eyelet Mock-Cable socks, which I happened to be wearing, so watch for that in a later post.
Wednesday, August 03, 2005
Queen of the Domain
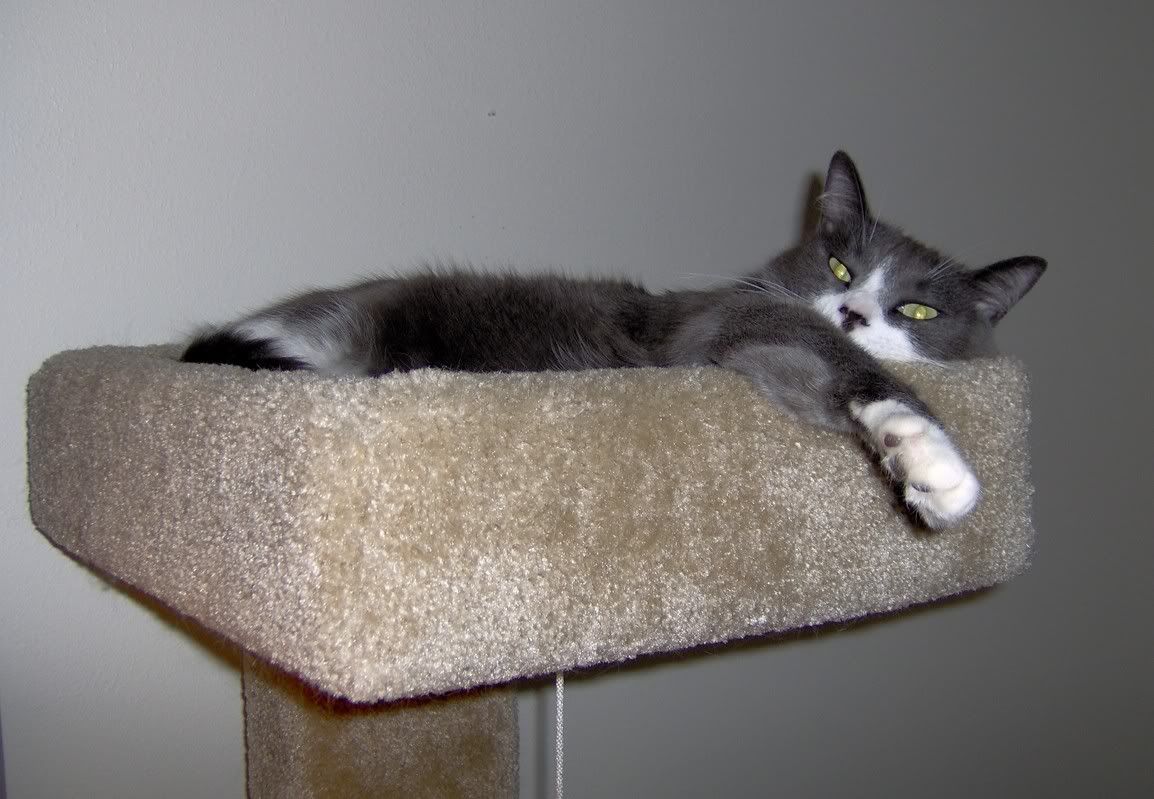
Now that is a relaxed cat. I took this with our new HP Photosmart, just kind of playing around with it. Doesn't it pick up detail nicely? Our old digi camera wasn't able to get a clear shot of something like, say, fur -- the poor kitties always seemed to have that weird moire effect. Now I can finally do justice to Pyewacket's luxe coat. (Assuming, of course, your monitor is equally able to resolve it.)
Monday, August 01, 2005
Harry Potter Scarf
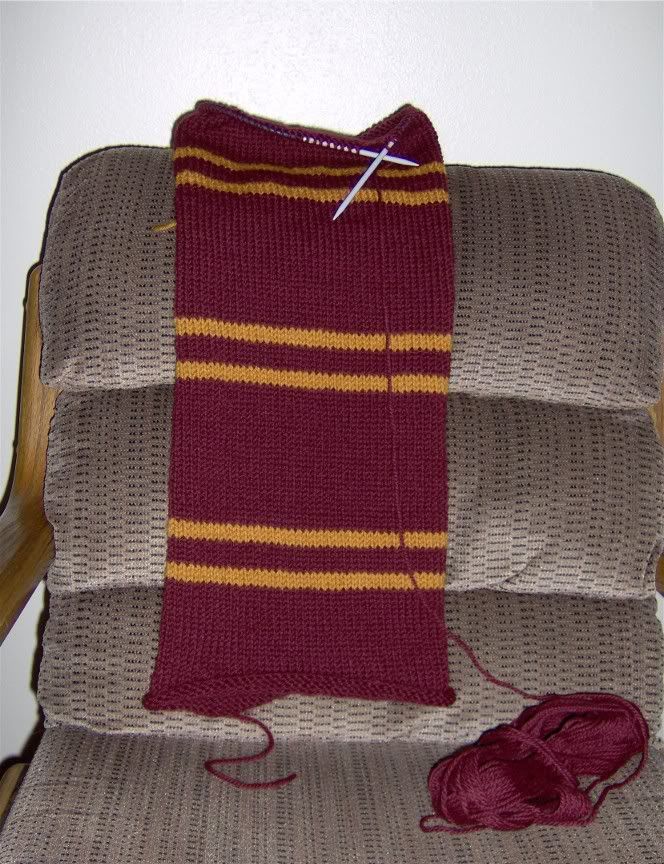
Here, as was correctly guessed earlier, is the start of a Prisoner of Azkaban-style Gryffindor scarf. The daughter of a dear friend of mine has a birthday coming up in October, and she is just wild about Harry, of course. I am most of the way through the first skein of red yarn and about 3 1/2 repeats in.
I was terrified that the movie folks would change the scarf style yet again for the upcoming 4th HP movie, prompting another round of scarf requests -- so I was quite relieved to see this promotional still from Goblet of Fire. The Trio on the Castle Steps
Subscribe to:
Posts (Atom)