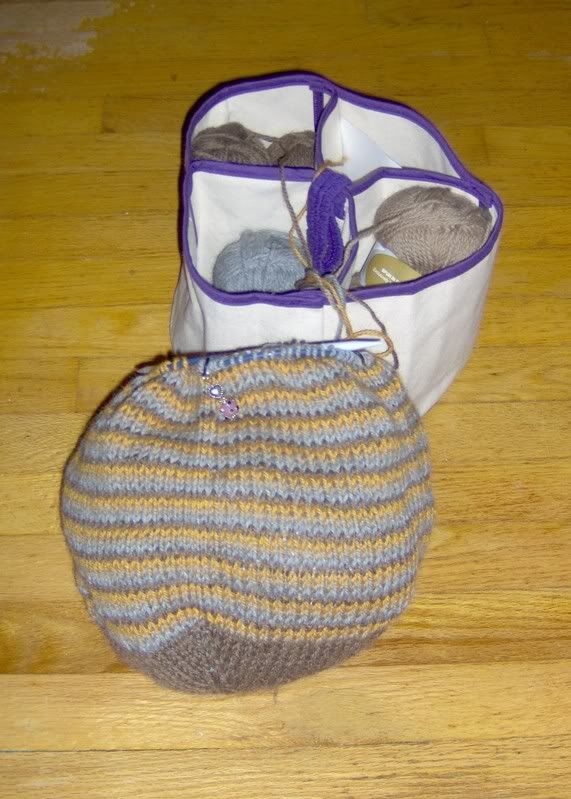
 All I can say is, thank the gods for the knitting bag by the door. I had the presence of mind to grab it on the way out, which kept me sane during the hours of cooling my heels in the ER waiting room, not to mention the hours of bedside visits once they moved him to a room. I had just cast on for a new Booga-ish bag when this all happened... this one is a little different, though, it has thin stripes from four leftover skeins (two browns, a grey, and a yellow), with a square bottom cribbed from the French Market bag. Much more subtle colors than my California Booga. Also, I just learned a really, really cool way to do single-row stripes in the round like this without carrying up the side! It's in the current issue of Cast On, the magazine of TKGA. Here's how you do it:
1. Divide your total # of stitches by the number of colors you want. Call it n. (Round up to a whole number if you have to, it doesn't have to be perfectly even.) Place a stitch marker every n stitches.
2. Knit your cuffs, or base, or whatever. I knit the bag base in a solid color and then started striping when I reached the sides.
3. On round 1 of stripes, knit to the first marker with color 1, change colors, knit to the second marker with color 2, change colors, and so forth until you knit to the last marker with color last.
4. To start round 2, you will begin knitting with the color you have in hand, which is color last. Knit to the next marker. When you reach it, drop the current yarn and pick up the one that was left hanging, and begin knitting with that color.
5. Continue in this way until you reach the desired length -- every time you reach a marker that has a hanging color, switch colors. The only marker that won't have a hanger is your end-of-round marker. Watch your tension on the color changes! It can sometimes get a little wonky. But there's no carried yarn & no ends to weave. Just stripey goodness.
Anyway, here's my striped pseudo-Booga about three quarters of the way through. The leftovers, in case you are curious, are from Mike's vest (dark brown), a Ravenclaw (grey), and a pre-blog Dr. Who (camel & yellow). Should look nice & subtle once it's felted.

 "
"


